Ever been scrolling social media and totally mesmerized by a 30-second clip of a cheese pull or a perfectly poured iced coffee? You’re not alone in this. Food and drink videos are pure engagement goldmines right now. But if you’ve ever tried to shoot yourself making your own cooking or mixology creations at home, you probably know it’s a lot harder than it looks.
Things can get chaotic fast, with weird lighting, messy countertops and trying to handle a camera with sticky fingers. The good news is you don’t need a Hollywood budget or a professional studio to make content that looks amazing. With a few smart strategies, the right tools, and a little planning, you can film great recipe videos in your own kitchen.
Here’s your practical guide to making your home-cooked content look totally professional.
- Prepare the stage before you cook
The biggest mistake you can make is jumping straight into cooking without setting up your space. Food styling for professionals is a blank canvas.
Clear the clutter. Remove the dish soap, the toaster, and the stray paper towels. You want all the focus to be on your ingredients.
Pick your backdrop: Don’t spend money on marble countertops. A clean wooden cutting board, a piece of slate or even a cheap vinyl backdrop paper instantly ups the look.
Measure everything in advance. Think of those classic TV cooking shows. Before you hit record, put out small glass bowls of your spices, oils, and chopped vegetables. It keeps your process moving along and looks super organized on camera.
- Control your kitchen lighting
The food should look fresh and appealing, and bad lighting is a sure way of making a delicious meal look unappetizing. You don’t need fancy studio lights, but you do need to be intentional.
- Locate a window: Natural daylight is your best friend when it comes to food photography. Place your cooking station in front of a window, with light coming from the side or just behind your dish. This gives beautiful depth and shadow.
- Ignore the overhead kitchen lights. Typical yellow ceiling lights create ugly, harsh shadows and odd color casts on food. If you can, turn them off.
- Temperature consistency: If you own a smart kitchen gadget like a high-speed air fryer or a smart thermometer, ensure its digital screen isn’t conflicting with your main light source.
- Consider your camera angles
You’ve got to change your views to keep people watching. And a single static shot of a pot boiling is dull after three seconds. Try combining these three key angles in your next video:
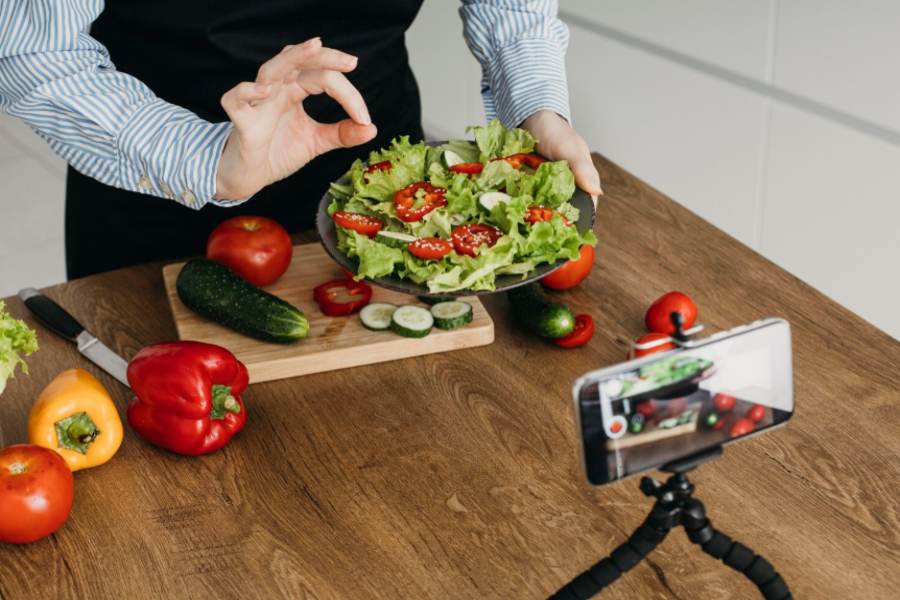
- The Overhead Shot (Top-Down): This is the holy grail of recipe videos. Great for showing chopping, mixing ingredients in a bowl or plating up a beautiful dish. For this, you’ll want a good tripod with an extension arm.
- The Eye-Level Close-Up: This angle lets you shoot the details of the action. Think about the sizzle of the bacon, or the liquid being poured into a glass, or the steam coming off of a fresh bake.
- This 45-degree angle is similar to how we naturally look at food when we sit down at a table. It’s great for textures and heights such as a tall stack of pancakes or a layered cocktail.
- Nail Down The Perfect Details
A big part of great recipe videos is the little details that make the viewer feel like he can almost smell the food.
The key is the action verbs: Pouring, sizzling, chopping, drizzling – these are what make food videos so satisfying. Slow these movements down in camera.
Get the temperature visuals down pat: When cooking meat, you’ll have to be on the lookout for that precise moment it hits juicy perfection. A wireless thermometer allows you to get the cook right and keep your shots clean and wire-free.
Show texture: Get close enough to show the crispiness of a crust or fuzz on a fresh peach, or the soft, chewable nugget ice in a refreshing drink. If you’re filming cocktails, iced coffee, or mocktails, using a Typhur Fast Nugget Ice Maker can help create café-style beverages that look more appealing on camera while ensuring you always have fresh ice ready for multiple takes.
- Edit To Finish It All Off
This is where you take raw clips and build a fast-paced, compelling story.
Cut the dull bits. Keep your clips short. Show the knife coming down on the vegetable, then skip to the pile of fully chopped. You don’t need to watch somebody chop up a whole onion live.
Time it to the beat: If you’re adding background music, try to time your cuts or actions — like a splash of milk hitting coffee — to the beat of the song.
People watch videos without sound. Include clear text overlays. Use bold, simple captions to display ingredient amounts or quick instructions so your audience can follow along anywhere.
Create an eye-catching thumbnail before you publish. Your thumbnail is often the first thing viewers notice, so make it count. If your kitchen background is cluttered or distracting, using a background remover can help isolate your finished dish, creating clean, professional-looking thumbnails and promotional graphics for your recipe videos without requiring advanced editing skills.
Once you’ve finished editing, don’t forget to add subtitles to video content before publishing. Subtitles make your recipe videos easy to follow, improve accessibility, and help keep viewers engaged, especially since many people watch social media videos with the sound turned off.
Creating beautiful food and drink content takes a bit of patience, but once you find your rhythm, it becomes much simpler. Get those mouth-watering close-ups using natural light, keep your set clean. Choose your favorite recipe, grab your tools and start filming!